Step 1: Select the Flood Select Tool
First, select the Flood Select Tool.

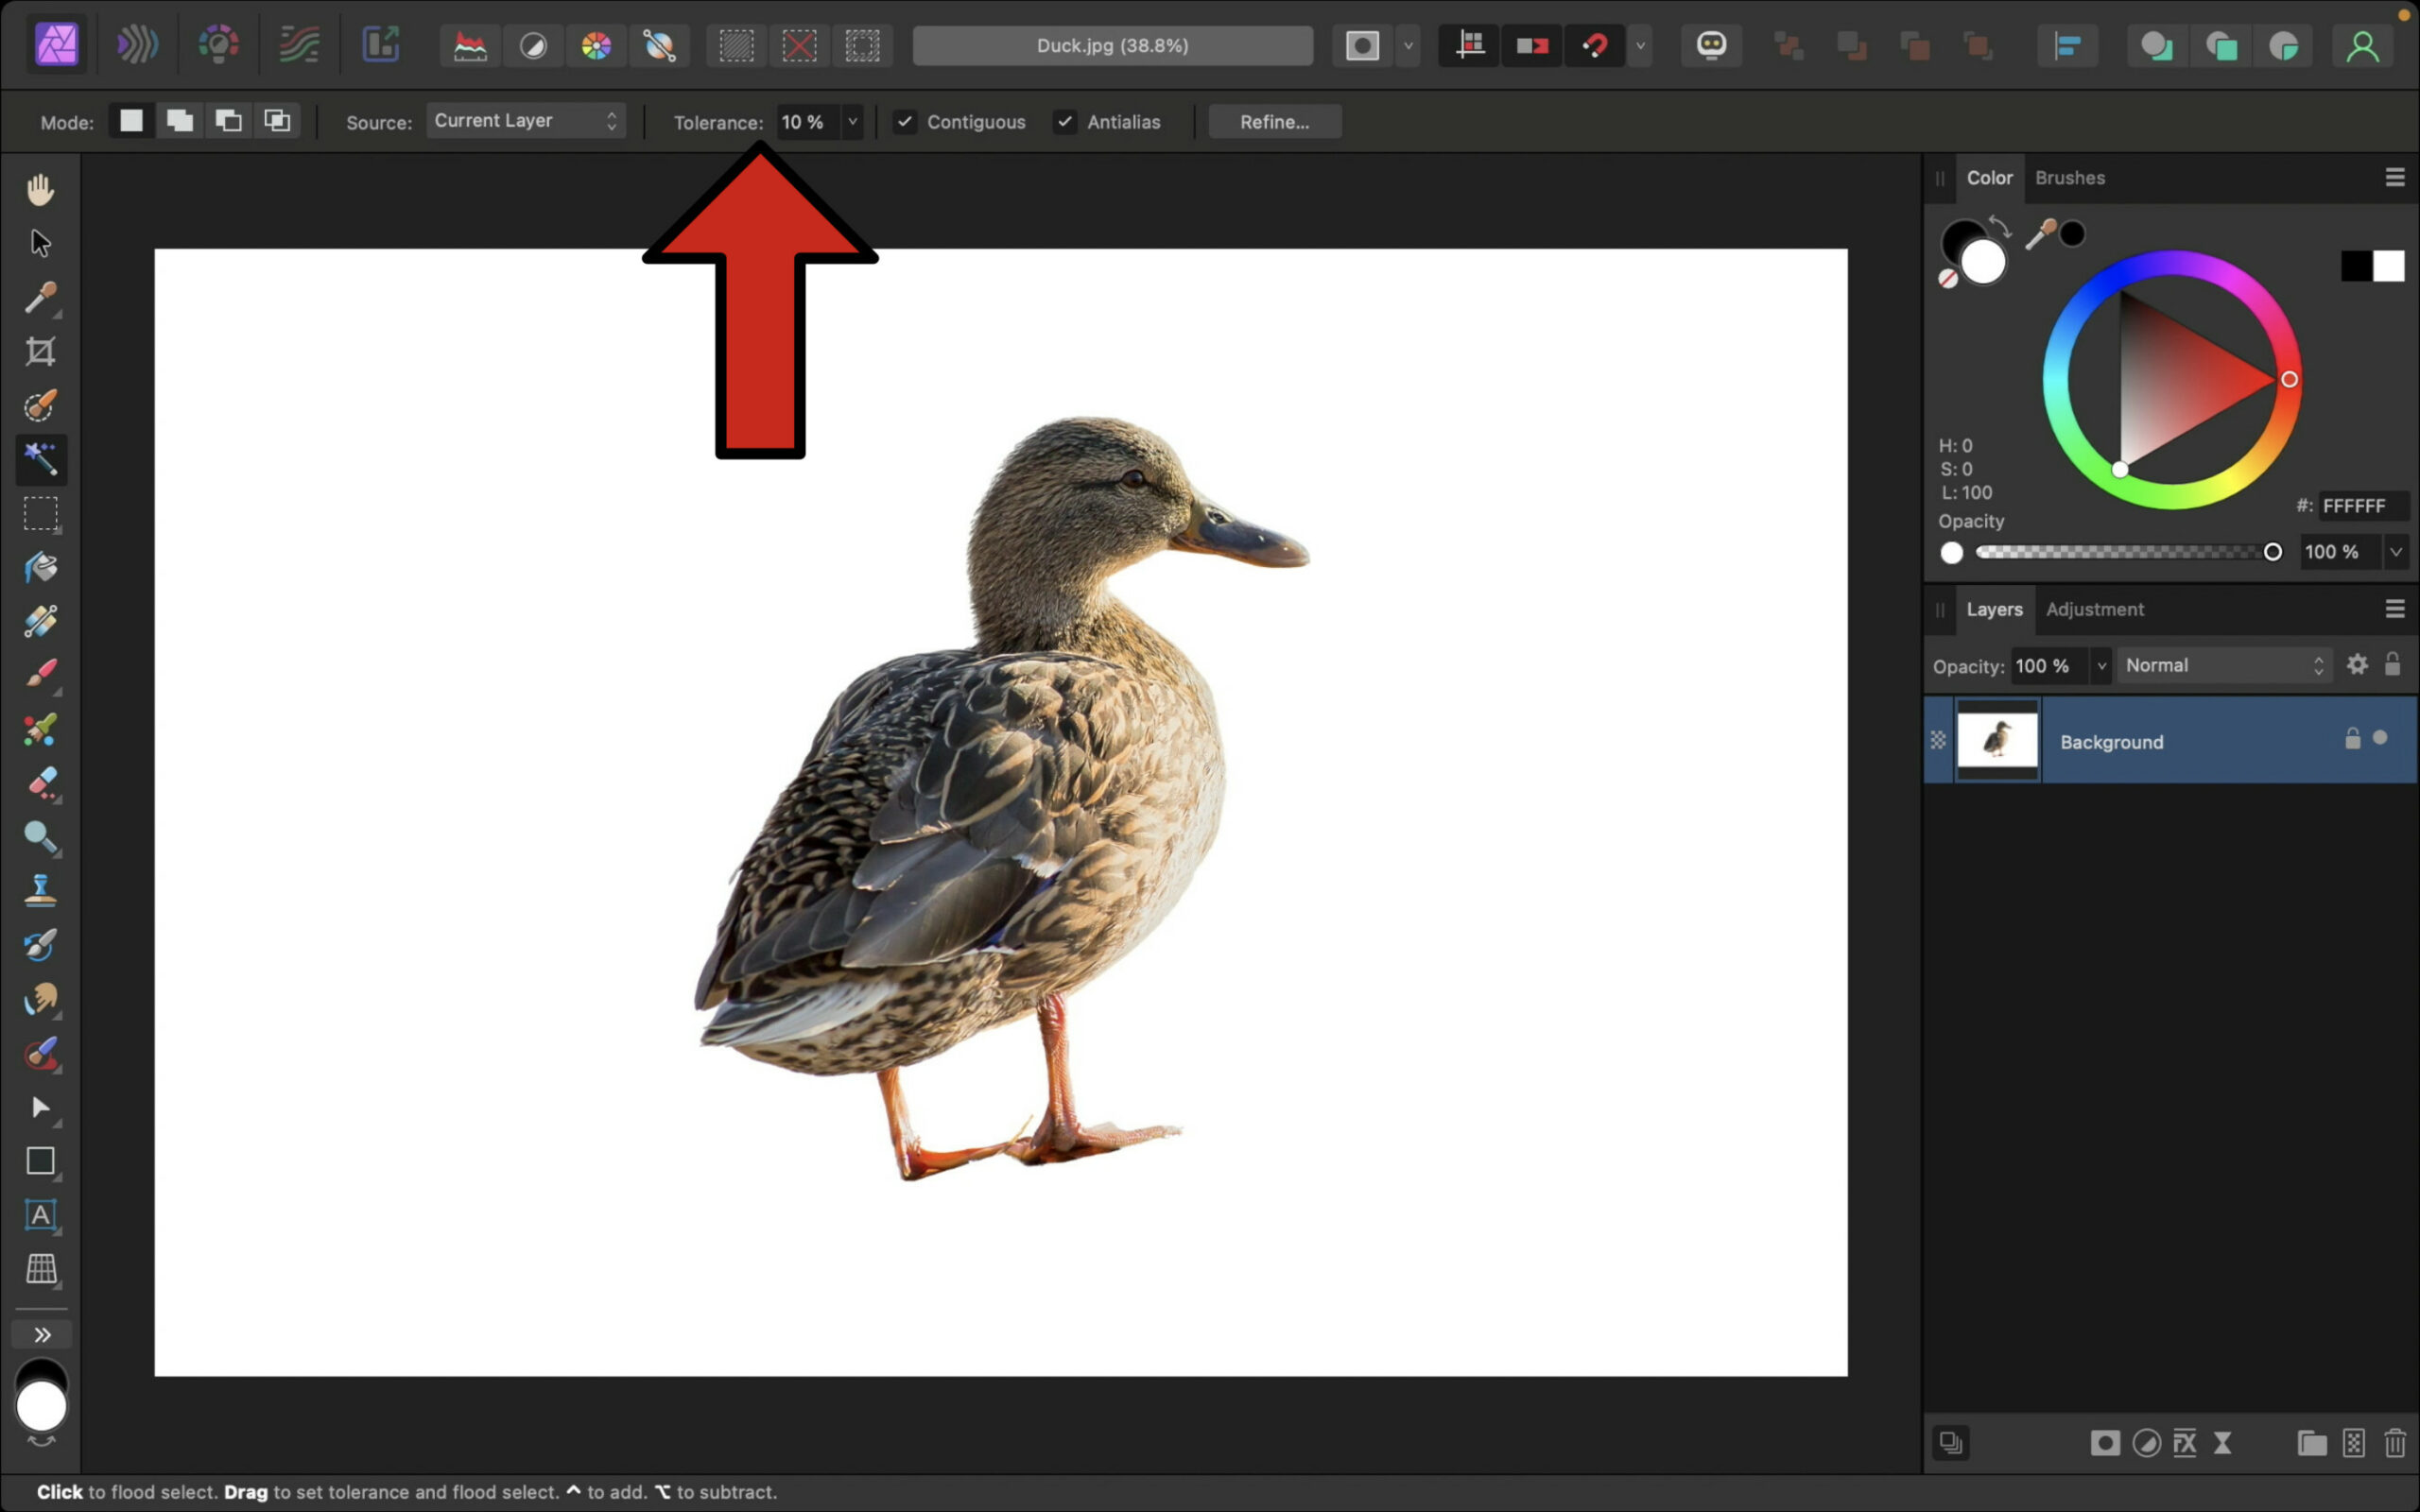
Step 2: Adjust the Flood Select Settings
Before making a selection, turn on Contiguous. Contiguous will allow you to only select the white background, not any other areas that happen to be white.

In addition to Contiguous, turn on Antialias. Antialias will make the selection smoother, preventing jagged edges.

To finish with the settings, adjust the Tolerance to 10%. Changing this will ensure we’re only selecting the white background, not any other whitish colors that are on the edges, like the white belly of the duck.
Step 3: Make the Selection
With those settings turned on, click anywhere in the background, and Affinity will make a perfect selection.

Step 4: Remove the Background
With the selection finished, you can remove the background by pressing Delete on your keyboard.

In this particular photo, there is also some white background between the legs. Click to select that area, then press Delete on your keyboard.

To remove the selection outline, press Ctrl + D (PC) or Command + D (Mac).

Step 5: Save the Image
If you want to save this image with the background removed, go to File, then to Export.

From here, select PNG, not JPEG. Then press Export.

Now you know how to remove a white background in Affinity Photo. 😊