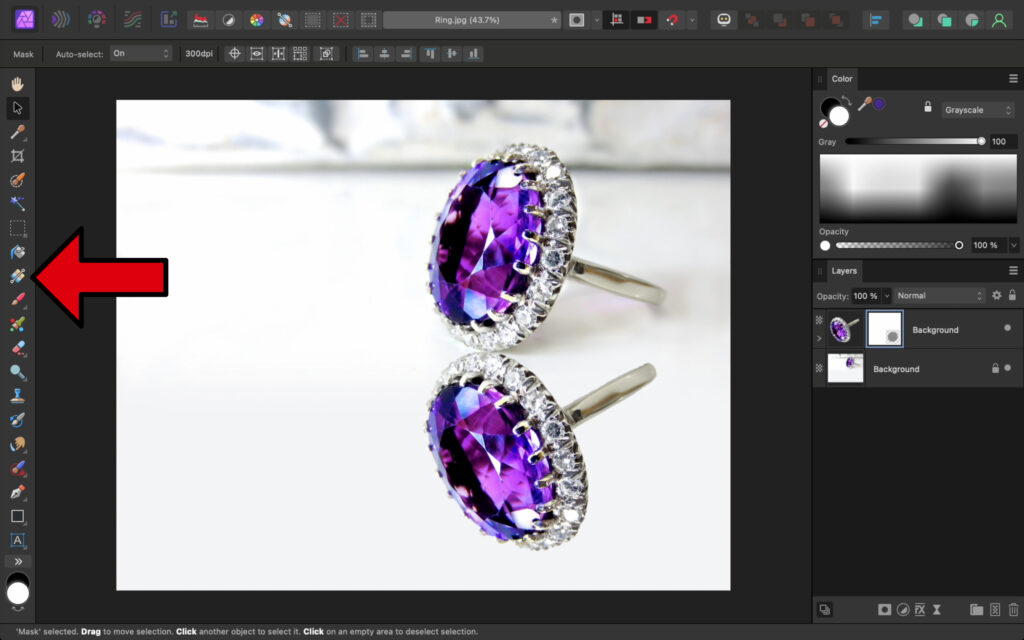
Step 1: Make a Selection
First, you need to make a selection of whatever you want to be reflected. In this example, I’ll make a selection of the ring.
To do this, select the Selection Brush. Then, click and drag to paint a selection across the ring.

Step 2: Duplicate the Object
With the selection finished, make a duplicate copy of the ring.
To duplicate a layer, press Ctrl + J (PC) or Command + J (Mac).

To remove the selection outline, deselect by pressing Ctrl + D (PC) or Command + D (Mac).

Step 3: Flip the Object
To make the object look like a reflection, it needs to be flipped upside down.
With the duplicate layer still selected, select the Move Tool.

Right-click on the ring. From here, go to Transform, then Flip Vertical.

Reposition the ring. In some cases, you will just need to move it under the original object. In this case, I’ll also rotate it so that it mirrors the rotation of the original ring.

Step 4: Fade the Reflection
To make this look more like a reflection, add a mask to the reflected ring.

To make this fade effect, select the Gradient Tool.

With this tool, click and drag from the top of the ring to the bottom.

To finish, select the ring’s layer (not the mask layer). Then lower the layer opacity to whatever looks good.

And that’s it! Now you know how to add a reflection in Affinity Photo. 😊