Step 1: Brighten the Highlights
Apply a Curves adjustment.

Raise the Spline to brighten the photo.

To only affect the highlights, open Blend Ranges.

Right now, the shadows are being brightened. To remove the brightness from the shadows, lower the 3rd node.

You can also move the node toward the right side to remove more brightness.

Step 2: Mask the Brightness
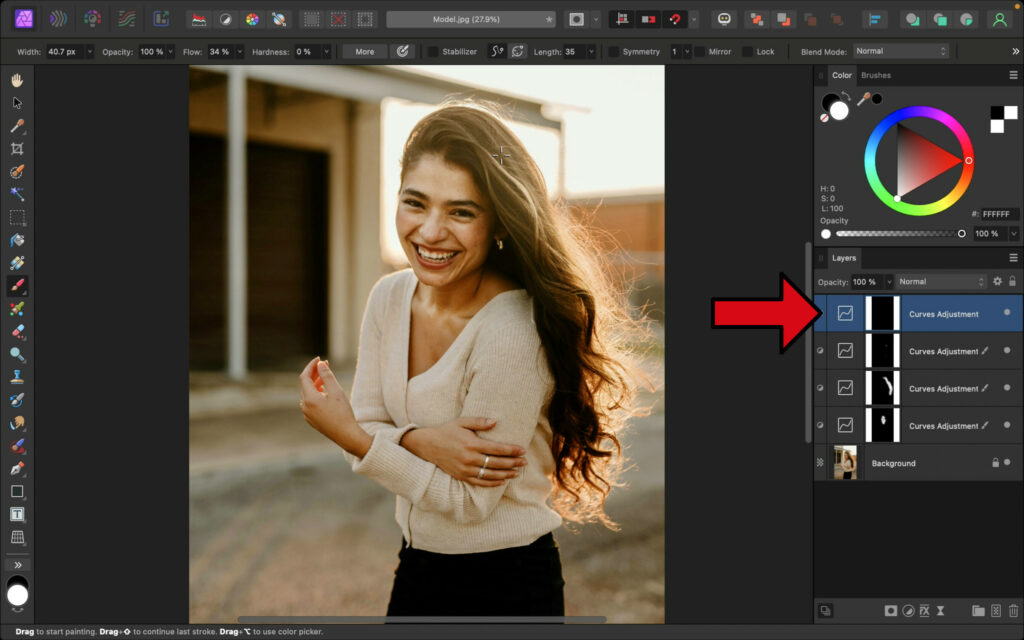
You can use multiple Curves adjustments to brighten different areas of the photo. For this one, it will only be applied to the face.
Press Ctrl + I (PC) or Command + I (Mac) to invert the Curves adjustment layer.

Select the Paint Brush.

With a low Flow, paint with white paint to reveal the brightness on the face.

Step 3: Add Brightness to Other Areas
You can add brightness to other parts of the photo as desired. For this example, it would look nice to add brightness to the hair and jewelry. Refer to Steps 1 and 2 to repeat the process.

Step 4: Darken the Shadows
To contrast the bright areas, you can add darker shadows.
Apply a Curves adjustment.

Lower the Spline to darken the photo.

To only affect the shadows, open Blend Ranges.

Right now, the highlights are being darkened. To remove the darkness from the highlights, lower the 4rd node. Move it toward the left to remove even more darkness.

Step 5: Mask the Darkness
Press Ctrl + I (PC) or Command + I (Mac) to invert the Curves adjustment layer.

Select the Paint Brush.

Paint with white paint to reveal the darkness.

And that’s it! Now you know how to add shine to a photo. 😊